In this video, I’m going to share simple actionable steps you can take to start your own food forest. Twelve years ago, I started planting my first food forest. If I could start over, I’d begin with a small protected area where I could temporarily plant my baby trees, letting them grow bigger and stronger before planting them out into the harsh conditions of the pasture.
Common Mistakes
When I first got started, I killed a lot of baby trees. It really came down to one big mistake: I planted dozens of baby trees across acres of land. Because they were so spread out and I didn’t have a reliable water source yet, almost every single one dried out and died. The rest, the deer ate them to the ground. Oops, not the smartest way to feed the wildlife!
Creating a Tree Nursery
Basically, I’d start with a tree nursery. If you already have a veggie garden, that’s a great place to temporarily host your young plants. Just be careful with fast-spreading species like mint—you don’t want them taking over your garden. Also, some trees like chestnut and hickory develop deep tap roots that shoot straight down, so it’s best to use air-pruned pots or beds so you don’t need to dig halfway to China to transplant them.
Simple Nursery Setup
No garden? No problem. Here’s the simplest setup I’ve found to give your trees the best chance. You can try skipping some steps, but trust this lazy gardener—I’ve cut every corner possible, and this is as simple as it gets without sacrificing results.
Spacing and Layout
So, how much space do you need? Baby trees don’t really take up a lot of space. You can plant them quite densely. Let’s say you’re starting with a 10ft x 10ft nursery. Around the outer edge, it’s nice to have a perimeter path so that you can access all your beds from every direction. Then, in the middle, alternate between two-foot wide paths and three-foot wide beds.
Managing Slopes and Sunlight
If your land has a slope, orient your beds perpendicular to the slope to slow down water runoff. If your site is relatively flat, then you can get creative. A keyhole-shaped bed can maximize the growing space while keeping everything accessible. If this is just a temporary tree nursery, then locating it somewhere partly shaded and only getting a few hours of sun a day is fine. But if you also want to grow veggies, you’ll need to place it somewhere that gets full sun, at least 6 hours of direct sunlight. Generally, gardens do better with early morning sun when the ground is still cool and moist, versus late afternoon sun when the soil is already warm and dried out.
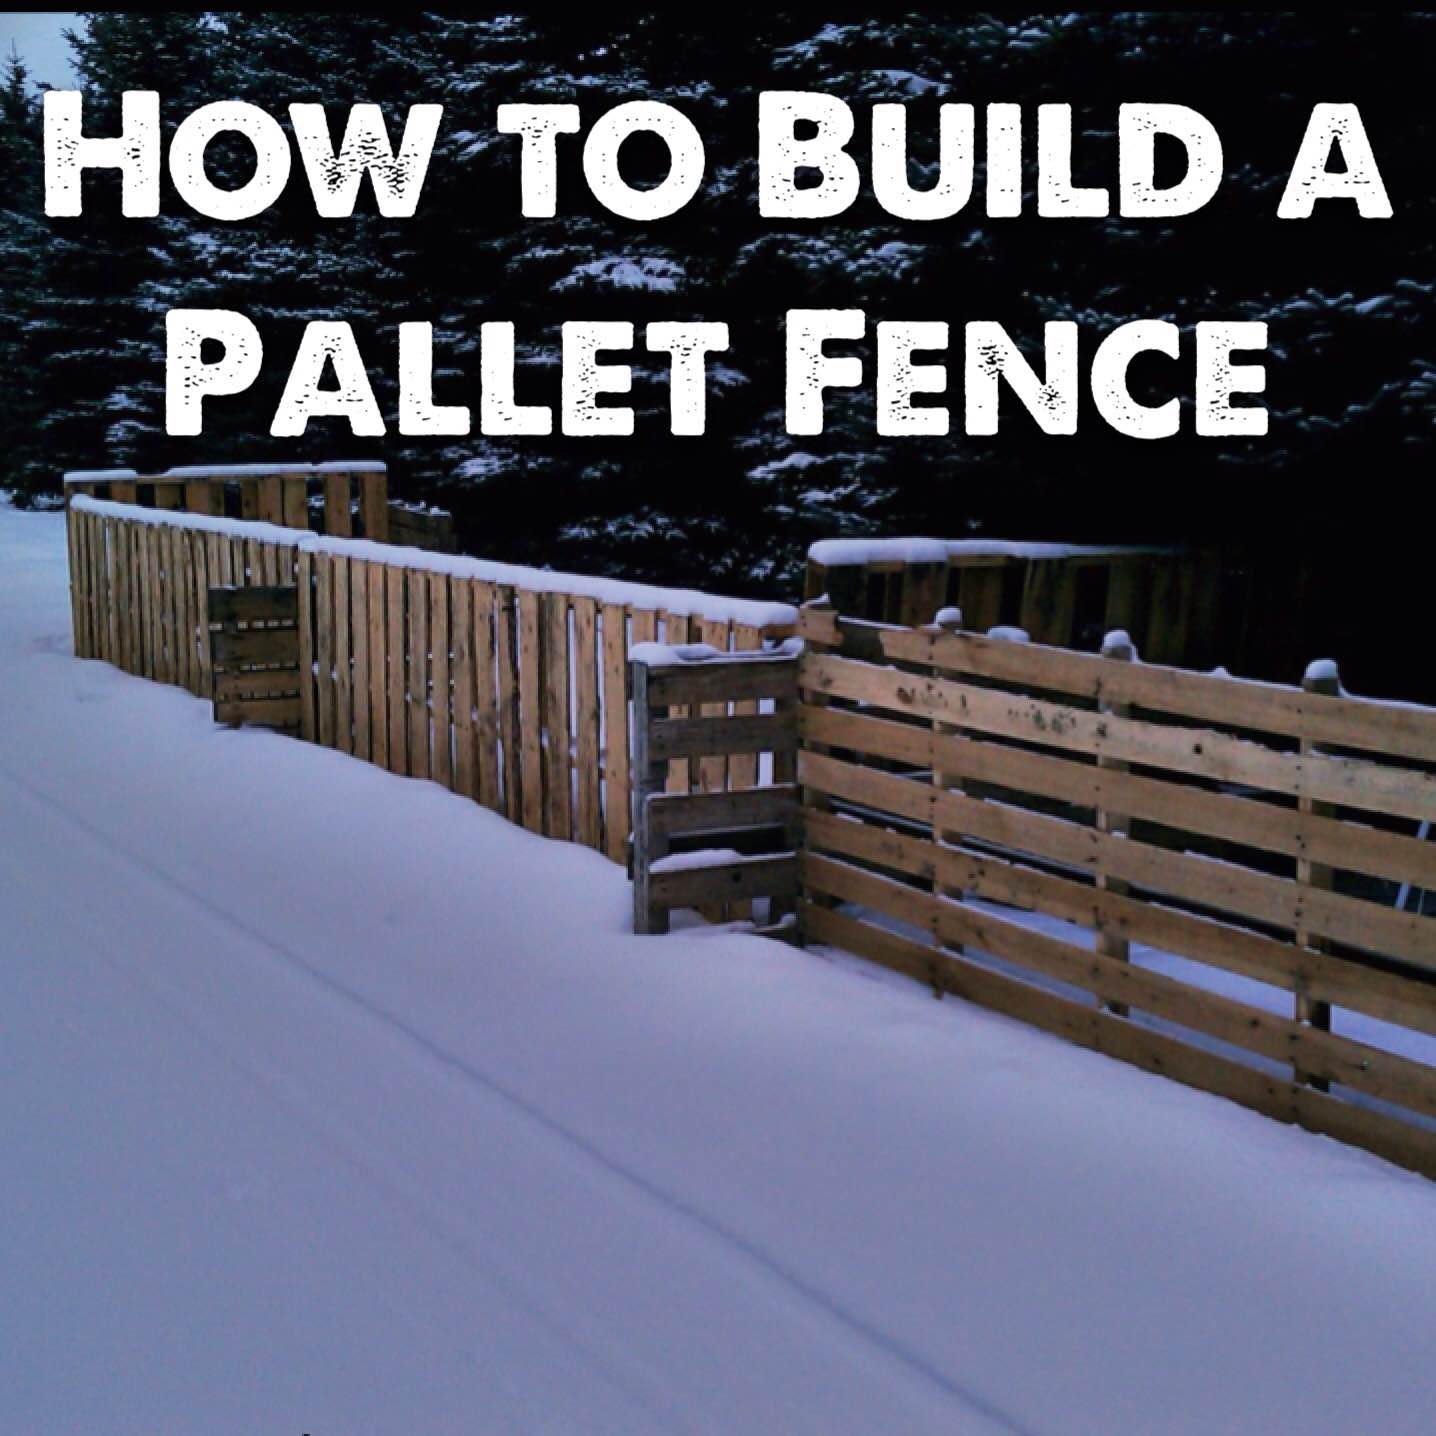
Protecting Your Trees from Wildlife
Here in Michigan, the biggest threats to baby trees are deer and rabbits, so we need a fence to keep both out. Depending on how athletic the deer are in your area, the fence should be about 8 ft tall. For rabbits, the lower section of the fence should have smaller holes—more like chicken wire—and reach at least 3 ft up off the ground. To stop rabbits from burrowing under, extend part of this lower fence underground and curl it outward away from the garden.
Fence Posts and Materials
For posts, you can use metal T-posts; drive them 2 to 3 ft into the ground for stability. I usually space posts about 6 to 8 ft apart. Wooden posts work too, but they need to be either pressure-treated or made from rot-resistant species. Around here, we use cedar or black locust.
Soil Preparation and Building Healthy Soil
If you don’t follow any other advice in this video, as long as you keep building up your soil year after year, you’re eventually going to have success. Whether you’re trying to cultivate healthy plants or healthy humans, we’re all just an after-effect of healthy soil. Fundamentally, healthy soil comes down to one simple step: feed your soil.
Organic Material and Soil Health
Think about how forests naturally build soil—layer after layer of fallen branches and leaves, animal waste, and even the bodies of past generations. All this organic material decomposes into rich black topsoil that holds nutrients for new life. You can use the same approach in your garden. Just keep laying down layer after layer of organic materials. Feed your soil a variety—leaves, wood chips, manure, food scraps, and so on.
Finding Free Organic Materials
Compost and mulch can get expensive if you buy them in bags, so this is where you need to get resourceful. Usually, you can find free organic materials by posting on local message boards like Craigslist or local Facebook groups. Tree service companies often need to dump wood chips, and they might deliver to you for free if you ask.
Sheet Mulching for Soil Preparation
Some people like to rototill their soil, but I found that’s a mistake. Tilling stirs up dormant weed seeds, launching you into an epic battle with weeds for the rest of the season. Instead, I prefer sheet mulching.
Steps for Sheet Mulching
- Mow vegetation as close to the ground as possible.
- Cover it with a few layers of wet cardboard or newspaper.
- Add 4 to 6 inches of compost on top.
- Finish with 3 to 4 inches of mulch (wood chips, hay, or leaves).
When to Prepare and Plant
You can do prep work anytime, but usually, it’s best to feed your soil in the fall. For tree planting, the best times are early spring and late fall when trees are dormant. I prefer fall plantings because spring is busy with veggie gardens.
Planting Your Trees
Once you’re ready, pull back the mulch, punch a hole in the cardboard, and dig your planting hole. Space baby trees about 8 to 12 inches apart. Pay attention to planting depth: match the visible soil line or keep a bit of the root flare visible above the surface. Never let mulch touch the trunk.
Watering Your Nursery
You can use drip irrigation or overhead sprinklers. Veggies typically need about 1 inch of water per week, while perennials need about half an inch.
Transplanting Trees
Once your trees are 3 to 4 ft tall with trunks about the size of your pinky finger, it’s time to transplant them. It usually takes 1 to 3 seasons if starting with small seedlings.
What’s Next?
In the next video, we get into the big convoluted topic of food forest design—where to plant stuff, so stay tuned!